Sunday, November 17, 2013

Pumpkin Cookies


There have been 2 women on my block diagnosed with celiac in the past year.  Both sweet friends of mine, one of them is named Faith who was just diagnosed recently.  When she posted on facebook of her diagnoses I made this and this for her and took them over.  I wanted to let her know that there are gluten free goodies out there.  Well, recently I took her these pumpkin cookies and at church I promised her that I would post this recipe TODAY.  She wants to make them for Thanksgiving.  Don't worry family, I will be making them too!

Okay, Be prepared.  This recipe makes A TON of cookies.  I also scoop them with a small 1" Tablespoon scooper to get perfectly round balls.  

2 cups sugar
1-1/2 cups butter (softened)
2 cups pumpkin
2 eggs
5 cups and 2 Tablespoons gluten free flour
2 teaspoons baking soda
4 teaspoons baking powder
1 teaspoon salt
2 teaspoons cinnamon
2 teaspoons vanilla
2 teaspoons nutmeg
2 teaspoons cloves
1-1/2 teaspoons xanthum gum

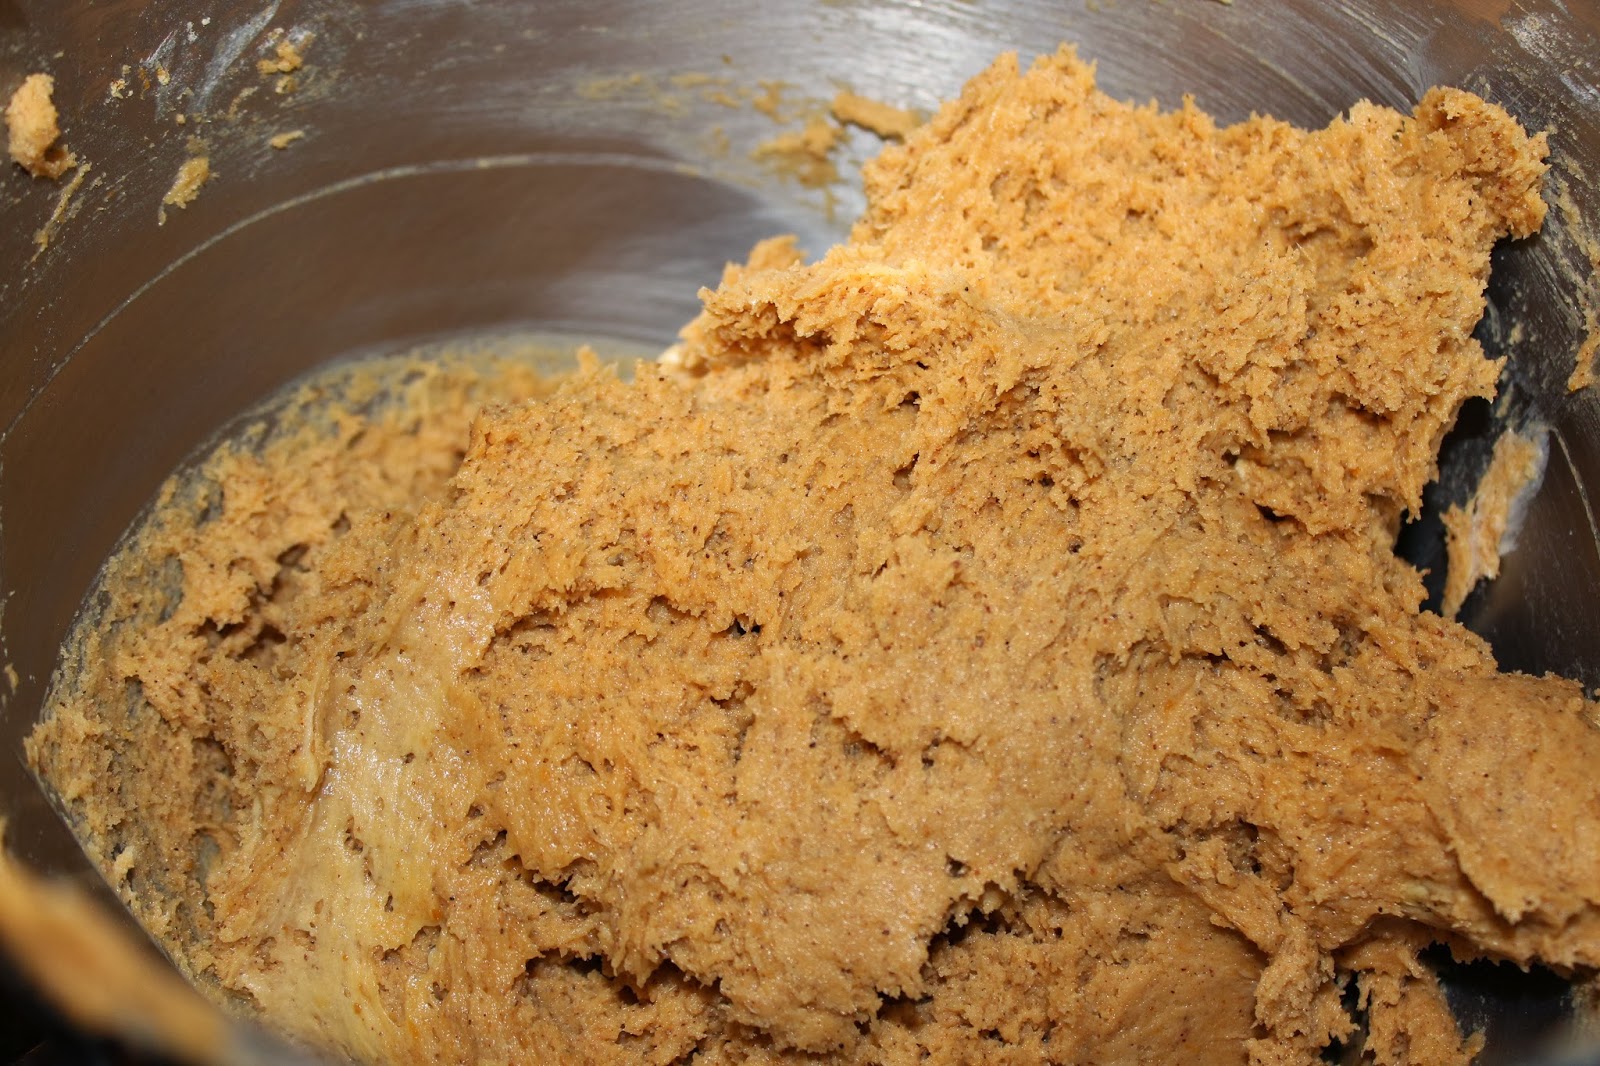
Preheat oven to 350 degrees.  Mix sugar & butter until smooth.  Add pumpkin in until smooth then add the eggs.  Add the flour one cup at a time until it is smooth.  Then add the list of ingredients as you go.  You can mix all the dry ingredients together first, but I'm kind of lazy, I keep the mixer on and add all of the seasonings one by one.  This is what the dough looks like.  
Scoop about a Tablespoon of dough per cookie onto cookie sheet and bake for 8-9 minutes.  Do not over bake these.  If you bake them just right they will literally melt in your mouth!
 While the cookies are baking and cooling make the glaze.
5 Tablespoons milk
3-1/2 to 4 cups powder sugar
1 teaspoon vanilla

Mix well so there are no clumps.  You want the glaze to be thick enough to stay on but not a frosting consistency.  So start with adding the 3-1/2 cups and go from there.  It's a personal preference I think.  They are a little messy, but they are good for days and days.  I keep them in an air tight container in the fridge and they last for up to a week if we don't eat them all before that!


Dinner Rolls


So I've been playing around with recipes of mine but I haven't quite made the time to figure out a good dinner roll.  However, I tried these and they are delicious.  The only thing I changed on the recipe was using my own mixture of flour instead of using a bunch of flour I didn't have.  They are very tasty and they will keep in the fridge for a few days, but I do prefer them warm the day of.  I'm picky that way, but Spencer likes them in his lunch the next couple of days so I think it's just me. 

Banana Bread


I  Love banana bread.  Who doesn't?  My son Spencer loves it too.  Nothing better than having warm banana bread for him when he gets home from school.  It's a pretty simple recipe with amazing results.  The first thing you have to do is butter and sugar your bread pan.  If you don't know what I mean than you need to get with the program.  Check it out here.


 So this recipe is for one loaf of banana bread.  I always double and if you do, than just double the recipe.  No other changes necessary.  

BANANA BREAD
1-3/4 cup gluten free flour
1-1/4 teaspoon baking powder
1/2 teaspoon baking soda
3/4 teaspoon salt
2 teaspoons xanthum gum
2/3 cup sugar
1/3 cup shortening
2 eggs
2 Tablespoons Milk
3 soft bananas

Pre-heat oven to 350 degrees.  Mix the top dry ingredients in a bowl and put to the side.  Mix shortening and sugar in a mixer until smooth.  Add eggs, one at a time and then the milk.  Then alternate adding a little of the flour mixture and bananas until you have used it all.  I never mash my bananas up.  I just throw them in there nice and soft and the mixer does it for me.  If you are using a hand held mixer or your bananas aren't as soft you should mash them first.  Then put your mixture into it's pan of goodness.  It will look like this.  


Your finished product should look like this and taste even better.  Like I said, the recipe I posted is for one loaf of banana bread.  I always double it so there will be some left over for when my Mr. Darcy gets home.  

* I think you could use any other high quality gluten free flour and it will turn out.  Let me know if you try it with another flour.  I'm curious if it works!

Wednesday, May 8, 2013

m&m marshmallow brownies


Remember the basic Brownie here, ya well I've made it even better.

Yes, start with that butter and sugar on your pan.

2 cubes butter
1/3 cup cocoa
2 cups sugar
4 eggs
2 tsp. vanilla
2 cup Gluten free flour
*2 small bags of M&Ms (optional)
1 package of mini marshmallows
1-1/4 tsp xantham gum

Preheat oven to 350 degrees.  Melt butter, Stir in cocoa, sugar, eggs, & vanilla.  In a separate bowl mix gluten free flour and xantham gum.  Add flour mixture to the wet ingredients.  Mix well.  Add one m&m bag. The batter will be a little thick so I usually try and plop it on in different areas and then smooth it as even as possible in the pan.  You want to be careful not to lift the sugar off the bottom of the pan.   Bake for 40-45 minutes.  Stick a toothpick in the center to make sure it is almost done.  Add your bag of marshmallows and another m&m bag and bake for an additional 5 minutes.


The picture above is right when I added the m&m bag and the marshmallows.


This is after 5 minutes.


Let it cool completely and the marshmallows will flatten out a bit.  


Add chocolate frosting.

Frosting:
1/2 cup butter (melted)
1/3 cup cocoa
Powder sugar

Melt butter and cocoa together on the stove over medium heat.  Add powdered sugar and cream to a consistency that you desire.  In this particular one I added 2 cups powder sugar, but sometimes I like it gooey and sometimes I like it with a thicker consistency.  It's up to you. 


My 2 year old.  Isn't he yummy?  
Yes, he likes chicks, coloring on himself, & BROWNIES!

My 6 year old who asked for seconds.  This brownie is delicious!

* There are times when I don't have the M&M bags and so I don't use them.  Either way it is really good.  These brownies are really rich and messy, just the way I like them. 
ENJOY

Saturday, May 4, 2013

Carrot Cake


So when my husband was little he told his parents that carrot cake was his favorite for his birthday.  In reality, it wasn't he just knew that his siblings (all 8 of them) wouldn't like it.  Therefore, he didn't have to share his birthday cake.  Yes folks, I married a smart one.  Fast forward 20 years and his favorite cake really is carrot cake.  I have an amazing recipe for carrot cake from a church cookbook that I have used for years.  I decided last month that I would attempt to make it gluten free and let me tell you it is even better!  I made it for my husband's birthday on a Tuesday and the following Saturday we had my niece's baptism.  Chad wanted me to make it again, yes it is that good.  My sister-in-laws family has a bunch of people with celiac and I think all of them asked me for this recipe so here it is in all of it's glory.

Carrot Cake
3 cups finely grated carrots (I use a miniature food processor)
2 cups sugar
2 cups + 2 TBS gluten free flour
4 eggs
1-1/2 cup vegetable oil
8 oz. softened cream cheese
2 tsp. baking soda
1 tsp. cinnamon
1 tsp. vanilla
1-1/4 tsp. xantham gum

Preheat oven to 350 degrees and butter and sugar your 9X13 pan.  Cream the cream cheese, add sugar, eggs, vegetable oil, and carrots.  Mix well, I use my kitchen aide mixer for this, but a good hand held beater should work well too.  In a separate bowl mix all of the dry ingredients together and then add to the wet ingredients.  Pour (it will be semi runny) into your sugar greased pan and bake on the middle rack for 50-60 minutes.  Check it with a sharp knife to make sure it is cooked through.  Then let it cool completely on a cooling rack.


Frosting
1/4 cup butter
4 oz. cream cheese
1 tsp. vanilla
2-1/2 cups sugar
Beat the cream cheese until smooth, add butter and beat until smooth.  Then add vanilla and powdered sugar and beat until it is smooth.  If the consistency seems to thick then you can add a tiny bit of hot water to it, but this rarely is needed.  Frost the cake and serve.  By the way, this cake is even better the next day after it's been in the fridge and it's cold.  Seriously, you can eat it for breakfast. 


Thursday, April 18, 2013

Brownies

There are few things more important to me then the perfect brownie.  Go ahead, call me shallow;  I already know this.  So the perfect way to start a brownie or a cake is with the pan.  Butter the pan and then put sugar on it, not flour.  I know... I know... you're thinking "Oh no she didn't"  but yes, yes I did.  It really is the most fabulous thing ever and if you don't believe me just try it.  There ain't no going back.


I have quiet a few variations (peanut butter, oatmeal, marshmallow) with this brownie, but this is the basic brownie.

2 cubes butter
1/3 cup cocoa
2 cups sugar
4 eggs
2 tsp. vanilla
1-1/4 tsp xantham gum

Preheat oven to 350 degrees.  Melt butter, Stir in cocoa, sugar, eggs, & vanilla.  In a separate bowl mix gluten free flour and xantham gum.  Add flour mixture to the wet ingredients.  Mix well.  The batter will be a little thick so I usually try and plop it on in different areas and then smooth it as even as possible in the pan.  You want to be careful not to lift the sugar off the bottom of the pan.   Bake for 40-50 minutes.  Stick a toothpick in the center to make sure it is done.  My oven takes 42 minutes, but my mother-in-laws takes almost 50 minutes, so figure out your oven and then just make a note of it.  That is my tip for the day.


Chocolate Chip Cookies


One of the first desserts I tried to master was the perfect chocolate chip cookie.  Who doesn't want one of these when they walk thru the door?  This isn't a great picture, it was taken from my phone, but they are great cookies.

The Perfect Chocolate Chip Cookie

2 sticks soften salted butter
3/4 cup sugar
1 cup brown sugar
2 small eggs
1 ts. vanilla
3/4 ts. baking soda
1-1/4 ts. xantham gum
1 bag chocolate chips

Preheat oven to 350 degrees.

Cream the soften butter, sugar, & brown sugar.  Add eggs & vanilla.  In a separate bowl, mix gluten free flour, baking soda, xantham gum.  Add dry ingredients to the sugar mixture.  Once it is fully mixed then add a bag of chocolate chips and mix for a second.  Use a cookie scooper and go to town.

Bake for 8-10 minutes.  You want to pull them out when they look a little underdone.  Then let them cool on the cookie sheet for a few minutes then on a wire rack.  SERIOUSLY SO GOOD!  You can thank me later;)

Monday, March 25, 2013

Gluten free oreo goodness


So have I mentioned my husband's family has a lot of people with celiac?  He is #3 out of 9 kids.  Four of the nine have it and a few refuse to be tested.  I have my opinions about that, but they have already heard them.  Anyhow, back to business of the ubber delicious oreos.  My brother-in-law (who refuses to get tested) is usually a wee bit annoyed by the gluten free food at family gatherings.  However, when I made these little suckers, he couldn't keep his hands off of them.

Oreo Goodness
1 cup butter softened 
2 cup sugar
2 eggs
2 ts vanilla

3/4 cup coco
1 ts baking soda
1/2 ts salt
1-1/4 ts xanthum gum

Preheat oven to 350 degrees. Mix all of the dry ingredients together.  In a separate bowl cream butter and sugar together.  Add eggs and vanilla and mix.  Next, add the dry ingredients.  Once mixed, I usually use my 1 TBS cookie scooper and scoop 12 onto a cookie sheet, I cut them in half and roll them into balls with my hand.  Bake for 8-9 minutes.  When you take them out they will look a little underdone, but don't keep baking them.  They are much better when they are soft.  Let them cool on a cookie sheet for a few minutes and then place them on a cooling rack. 
Once they have cooled frost them with this fantastic frosting.
Frosting
4 ounces cream cheese
1 stick of butter
1-1/2 cups powder sugar
1/2 ts vanilla
1/8 ts salt

Cream butter then add cream cheese.  Add powder sugar, mix and then add vanilla and salt. If for some reason the mixture seems to runny then you can add a little more powder sugar.  Prepare yourself: you may just have to run on the treadmill an extra hour or two to burn off what you ate.  


Flour mixture

The gluten-free flour mixture that I always use is a mixture of rice flour, tapioca flour, & potato flour.

* 6 cups Brown Rice Flour (I have learned that fine rice flour doesn't work the same)
* 2 cups Potato Flour
* 1 cup Tapioca Flour

I mix them and put them large tupperware bin.  I usually, okay, okay my husband usually mixes a ton at a time for me.  I buy 50lb bags of each, it has been the cheapest way for me.  I buy it from Honeyville.

Wednesday, March 20, 2013

My husband and 7 year old son were diagnosed with celiac disease in 2012.  I'll admit that when my husband was diagnosed I thought "I can do this".  When my son was diagnosed, I cried for a week straight.  I hated that his diet needed to be so restricted and I felt so much pressure on me to make sure he didn't get any gluten.  I kept thinking what is going to happen when kids in his 2nd grade class bring in cupcakes or donuts for their birthdays.  I didn't want him to feel different or upset that he couldn't eat what the other kids were eating.  My son is a rock star and has been amazing with these changes but I have had to be the one to make these changes for my family.  Holy Cow!  I have been overwhelmed with recipes and they all seem to have about a billion ingredients and I don't even know what they are.  I have 4 kids the oldest is 7 so I don't have time to go though the rigamaroll of difficult recipes.  I've made it my mission to bake simple, but good gluten free meals and sweets (my favorite).